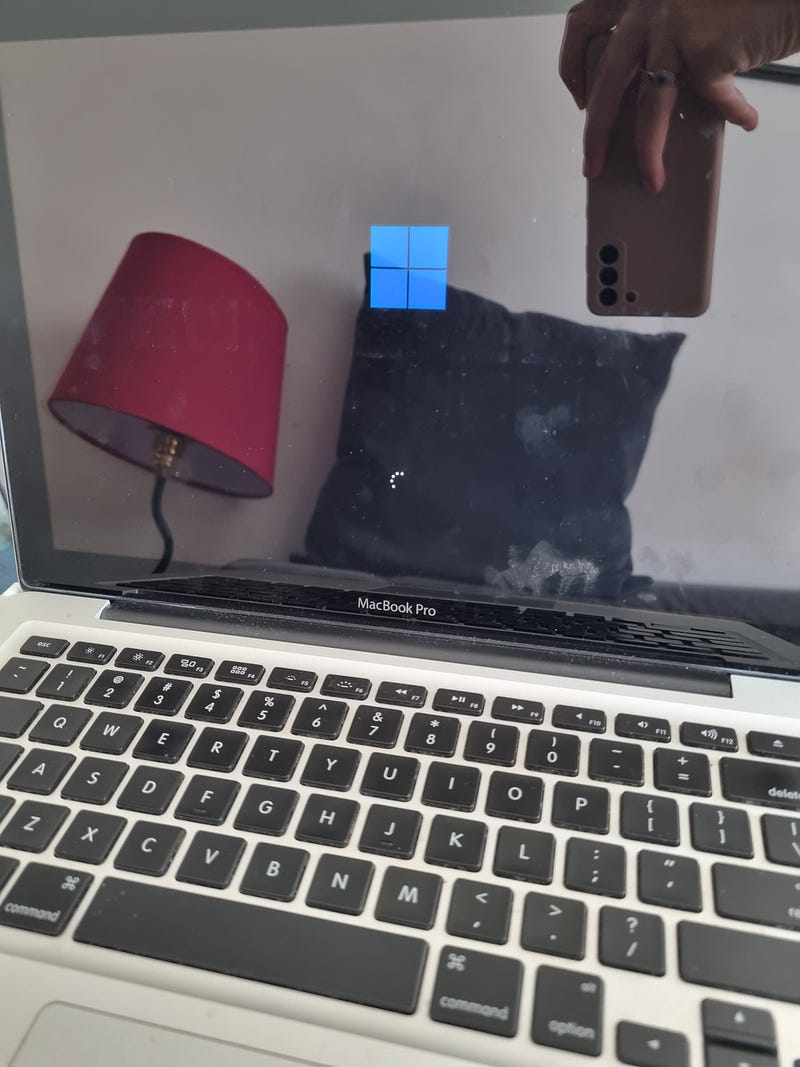
Installing Windows 11 on a 2011 MacBook Pro: A Guide
Written on
Chapter 1: Introduction
The journey of installing Windows 11 on older Intel MacBooks, including the 2011 MacBook Pro, can be challenging. Although Apple designed these devices to run both MacOS and Windows, the release of Windows 11 has made this process more complex. Microsoft has restricted straightforward access for Apple users, resulting in a tricky installation process. Despite these challenges, it is still feasible to install Windows 11 while retaining hardware functionality.
In this guide, I will outline my experience installing Windows 11 on my 2011 MacBook Pro without using Boot Camp Assistant, utilizing the rEFIt boot manager instead. Unfortunately, I encountered a sound issue where Windows 11 did not recognize my sound card.
To replicate this installation, you will need a USB drive with a minimum of 8GB, access to a Windows laptop, and a stable internet connection.
Section 1.1: Installing rEFIt Boot Manager
The rEFIt Boot Manager is a free, open-source tool that facilitates the management of boot options on your machine. Among its various features, it allows you to select which operating system to boot during startup.
For installation on your Intel Mac, I recommend following the instructions available in the official documentation, as it offers the simplest approach.

Section 1.2: Creating a Windows Partition
Using Disk Utility on your Mac, you need to create a partition for Windows. Microsoft suggests a minimum of 64GB; however, I’ve successfully used only 40GB for my installation.
Don't worry about the formatting at this stage; it will be adjusted during the Windows installation process.
Subsection 1.2.1: Preparing the Windows 11 ISO
Next, you will need to create a Windows 11 ISO file on your USB drive. Shut down your Mac and power on your Windows PC to download Rufus 3.20 portable version.

Follow the prompts in Rufus, ensuring to select the option for no TPM/no Secure Boot. This option may only appear at a later stage if using Rufus 3.20.
Once Rufus completes the task, safely remove your USB drive.
Section 1.3: Installing Windows 11
Insert the USB Drive
Connect the USB drive containing the Windows ISO to your MacBook.
Restart Your MacBook Pro
Upon booting, hold the Option key to access the boot menu, where you should select your USB drive with the Windows ISO.
Follow Installation Instructions
If everything goes smoothly, you will encounter a unique setup screen. Follow the prompts, and be ready to enter your Wi-Fi password when prompted.

During the installation, you will need to select the partition created earlier. Although Windows may indicate an incorrect format, you can still choose this partition and allow Windows to format it as necessary.
Account Configuration
A Microsoft account is required for the initial setup. If you do not have one, you can create it during the process, and later log out if desired.
Updating the OS and Drivers
Once Windows 11 is installed, check for updates through Windows Update to ensure your system is up to date.

Using rEFIt to Select Your OS
By default, your MacBook will boot into Windows. To switch between operating systems, press and hold the Option key during startup.
Chapter 2: Final Thoughts
After completing the installation, I faced the notable challenge of sound not being recognized, which remains unresolved. Reflecting on my experience, I understand why I prefer MacOS and Linux over Windows; the latter feels cluttered with numerous menus and settings. Nevertheless, Windows 11 boasts some attractive wallpapers, and exploring a different operating system can be beneficial.
Thank you for taking the time to read this guide! If you found it helpful, consider subscribing for updates on future articles. Additionally, if you're interested in further reading, check out my book, "Data-Driven Decisions: A Practical Introduction to Machine Learning," available at an affordable price.
Watch this video for a step-by-step guide on installing Windows 11 on a 2011 MacBook Pro.
This tutorial discusses how to run Windows 11 on unsupported Macs, offering insights into the process and potential solutions.